Forget about the same old ways of laying tile. In 2021, we are not only changing our tile options but also tile patterns. You might be asking, ‘is tile layout that important?’ Sure, it is! You may not know this, but your eyes subconsciously take in tile patterns. A wrong layout makes the room feel messy and cluttered, even if everything else is in place. But a good one? – It sets the tone for the entire room and ties everything together. And with a bathroom remodel, what better way to spruce up the space than by selecting the top tile patterns of 2021?
The Herringbone Layout
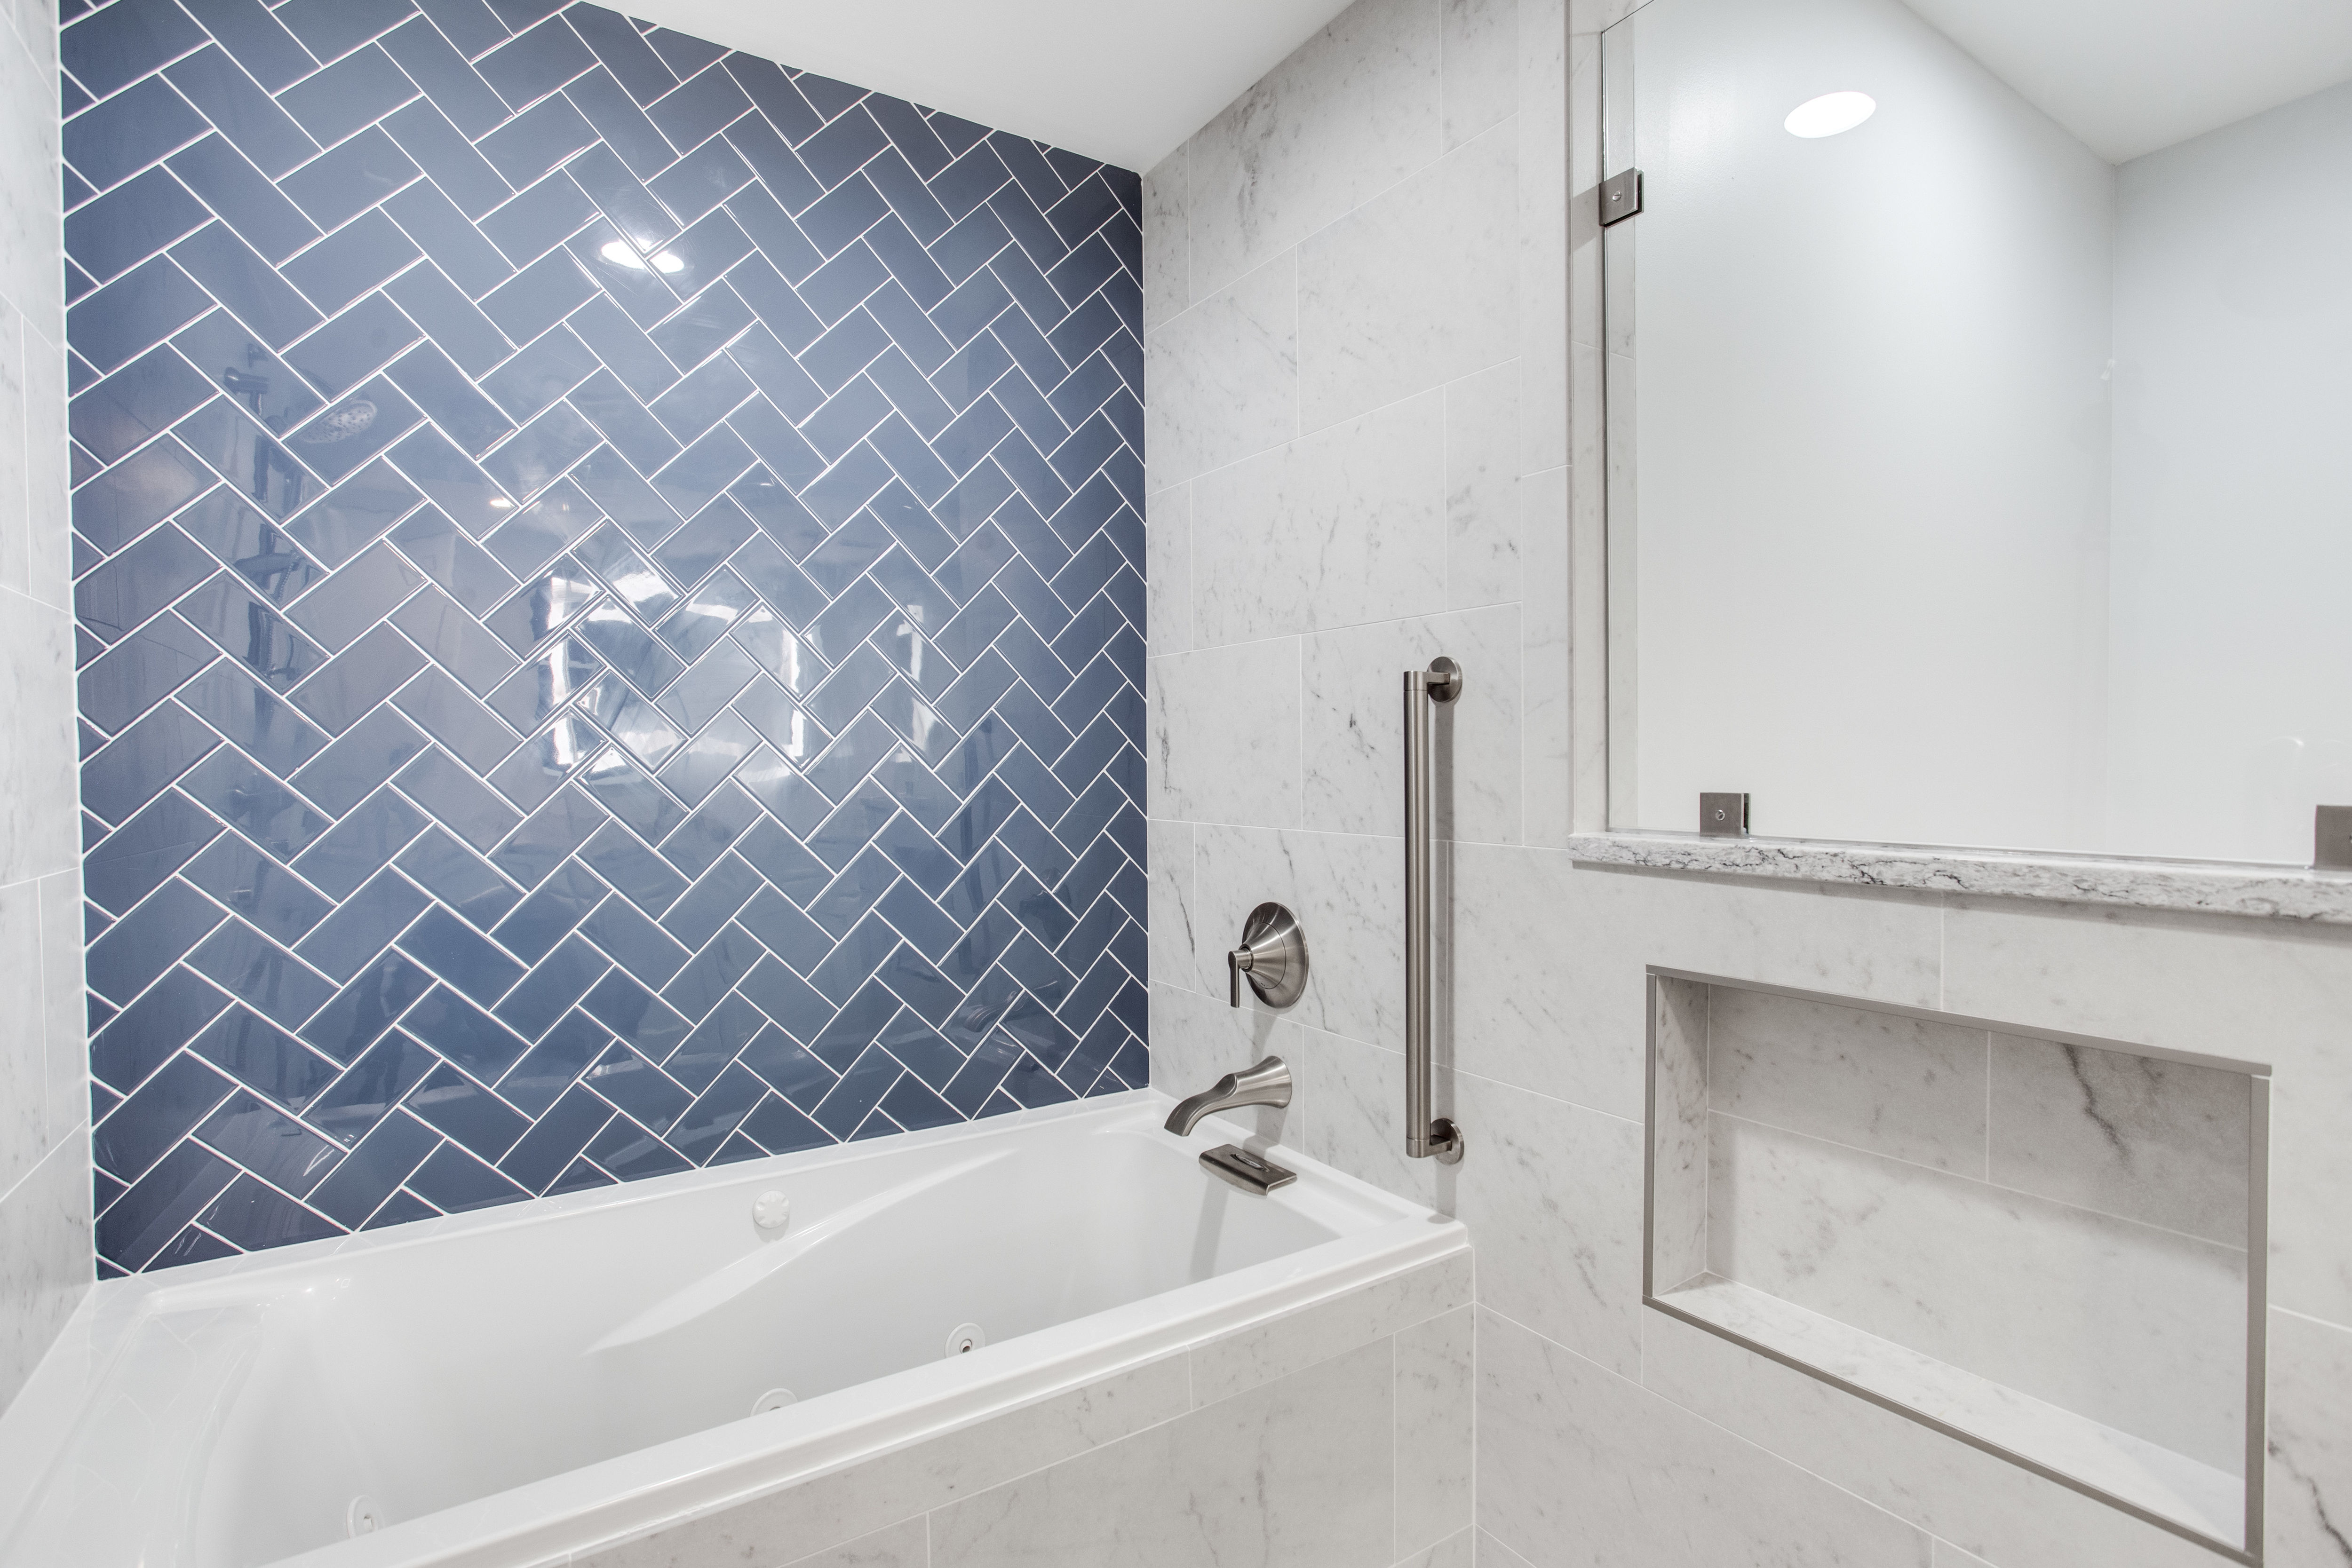
For some visual interest and a touch of drama, this layout is the way to go. It features rectangular-shaped tiles laid to create a herringbone pattern. That’s at a 45-degree angle to the surface and a 90-degree angle to the next tile. The patterns can run across the surface, upwards, or even downwards. The goal is to direct the tiling towards the focus in the room. Do you want to create the illusion of a taller ceiling? Move upwards! Or would you prefer to make the room look wider?
It seems easy enough on paper and should be so in actuality if you lay the proper groundwork. Even DIY lovers can get this layout right if they put the time into experimentation and cutting the tiles. Expect to take a while longer than you would with simpler patterns that fit right into every nook in your space. Is it worth the hassle?
Why, yes! Nothing screams beauty and practicality more than carefully laid herringbone tiles. Did we mention that they work for both floors and walls? It might be worth a mention!
The Straight or Stacked Tile Pattern
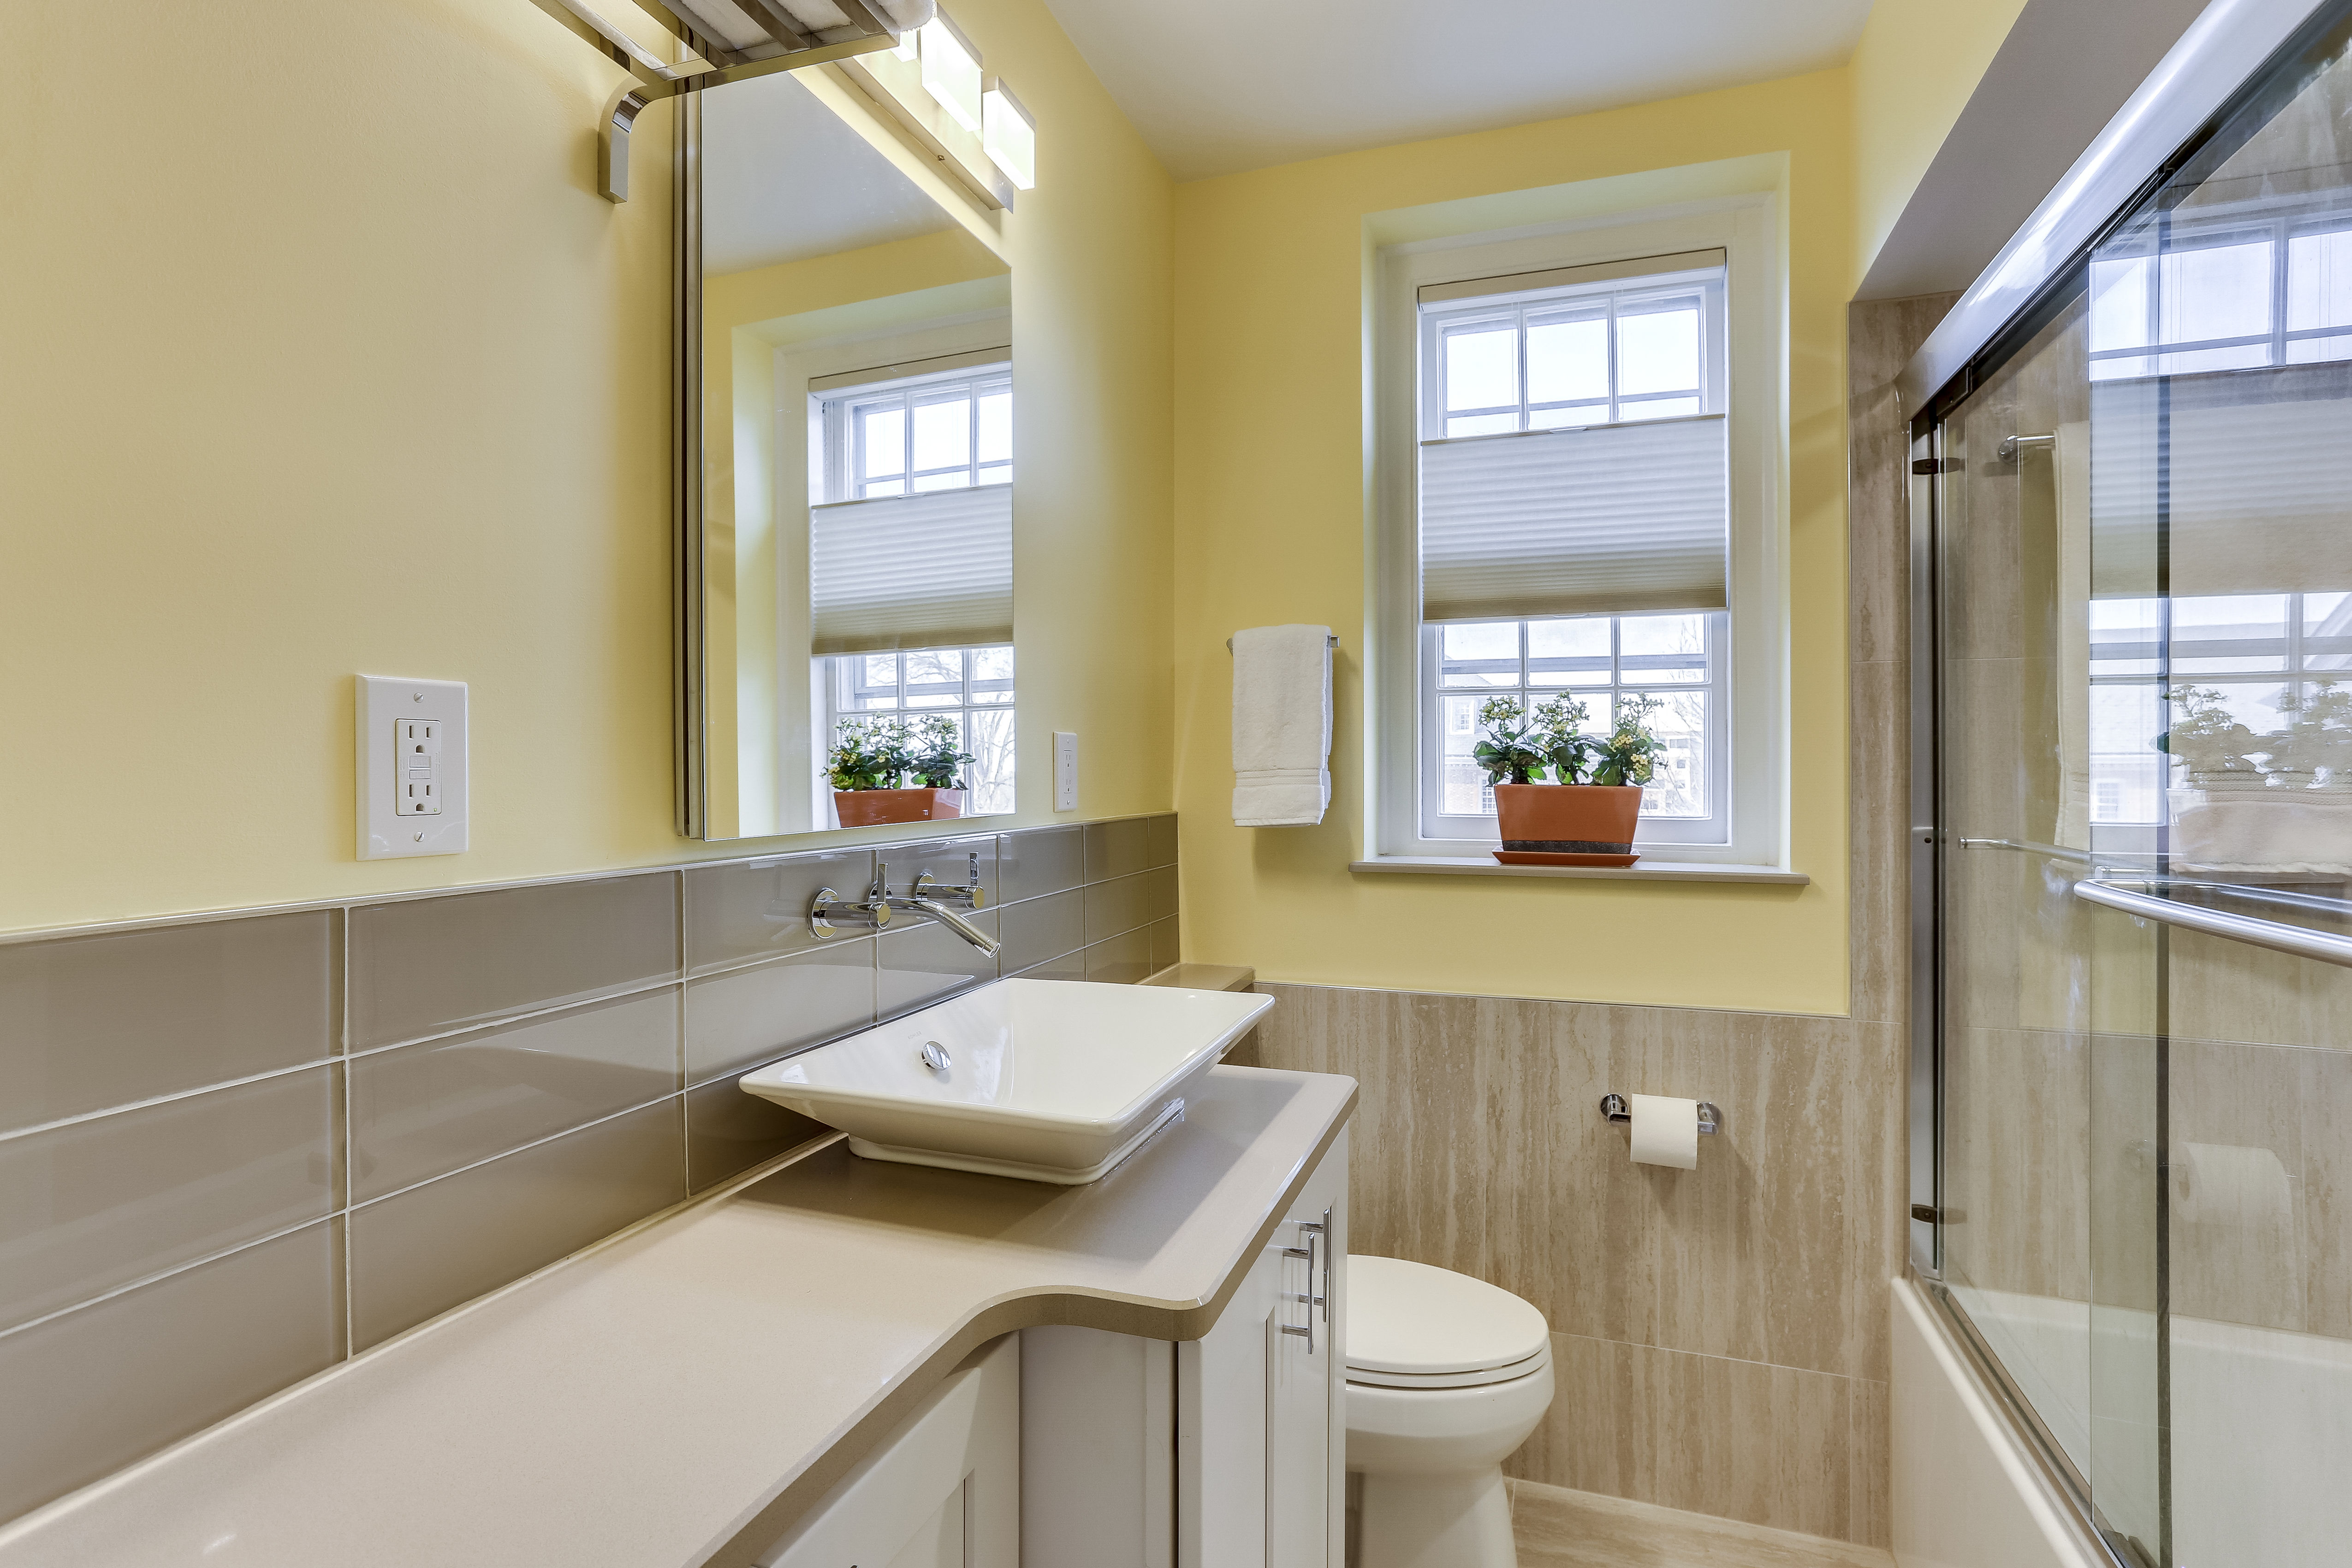
Some styles never go out of style, even with new patterns coming into the scene. That’s none other than the timeless stacked tile pattern, which embodies modernism and boldness. When stacking, you can go for:
Horizontal Layout
You can enhance this simple yet bold style by emphasizing the grout lines. Do not hold back on thickening the lines and lining them with bold colors for the ultimate contrasting effect.
Diamond Stacks
As a cross between horizontal and vertical layouts, this square orientation adds a classic and timeless appeal to the bathroom. Guess what? You do not actually need diamond-shaped tiles- these are basically square tiles tilted at 45 degrees!
Vertical
Using vertical stacks in small spaces always makes them feel less crowded and roomier. Brighter shades are even better for such spaces to play into light reflection and make the space even airier.
Small Shapes
Tired of going with the standard tile sizes? Why not embrace much smaller tiles? They make the space look much grander and create a more blended look. You can work with tiles as small as an inch. Sure, getting the tiles fitted will take a lot of work, but the results will have that coveted delicate touch.
Mixing and Matching
Traditionally, you would pick one tile pattern and replicate it all over the bathroom. But why not try two designs at once? For example, you can have the small-shaped tiles on one end and complement them with horizontally stacked tiles on the other.
The Brick or Offset Layout
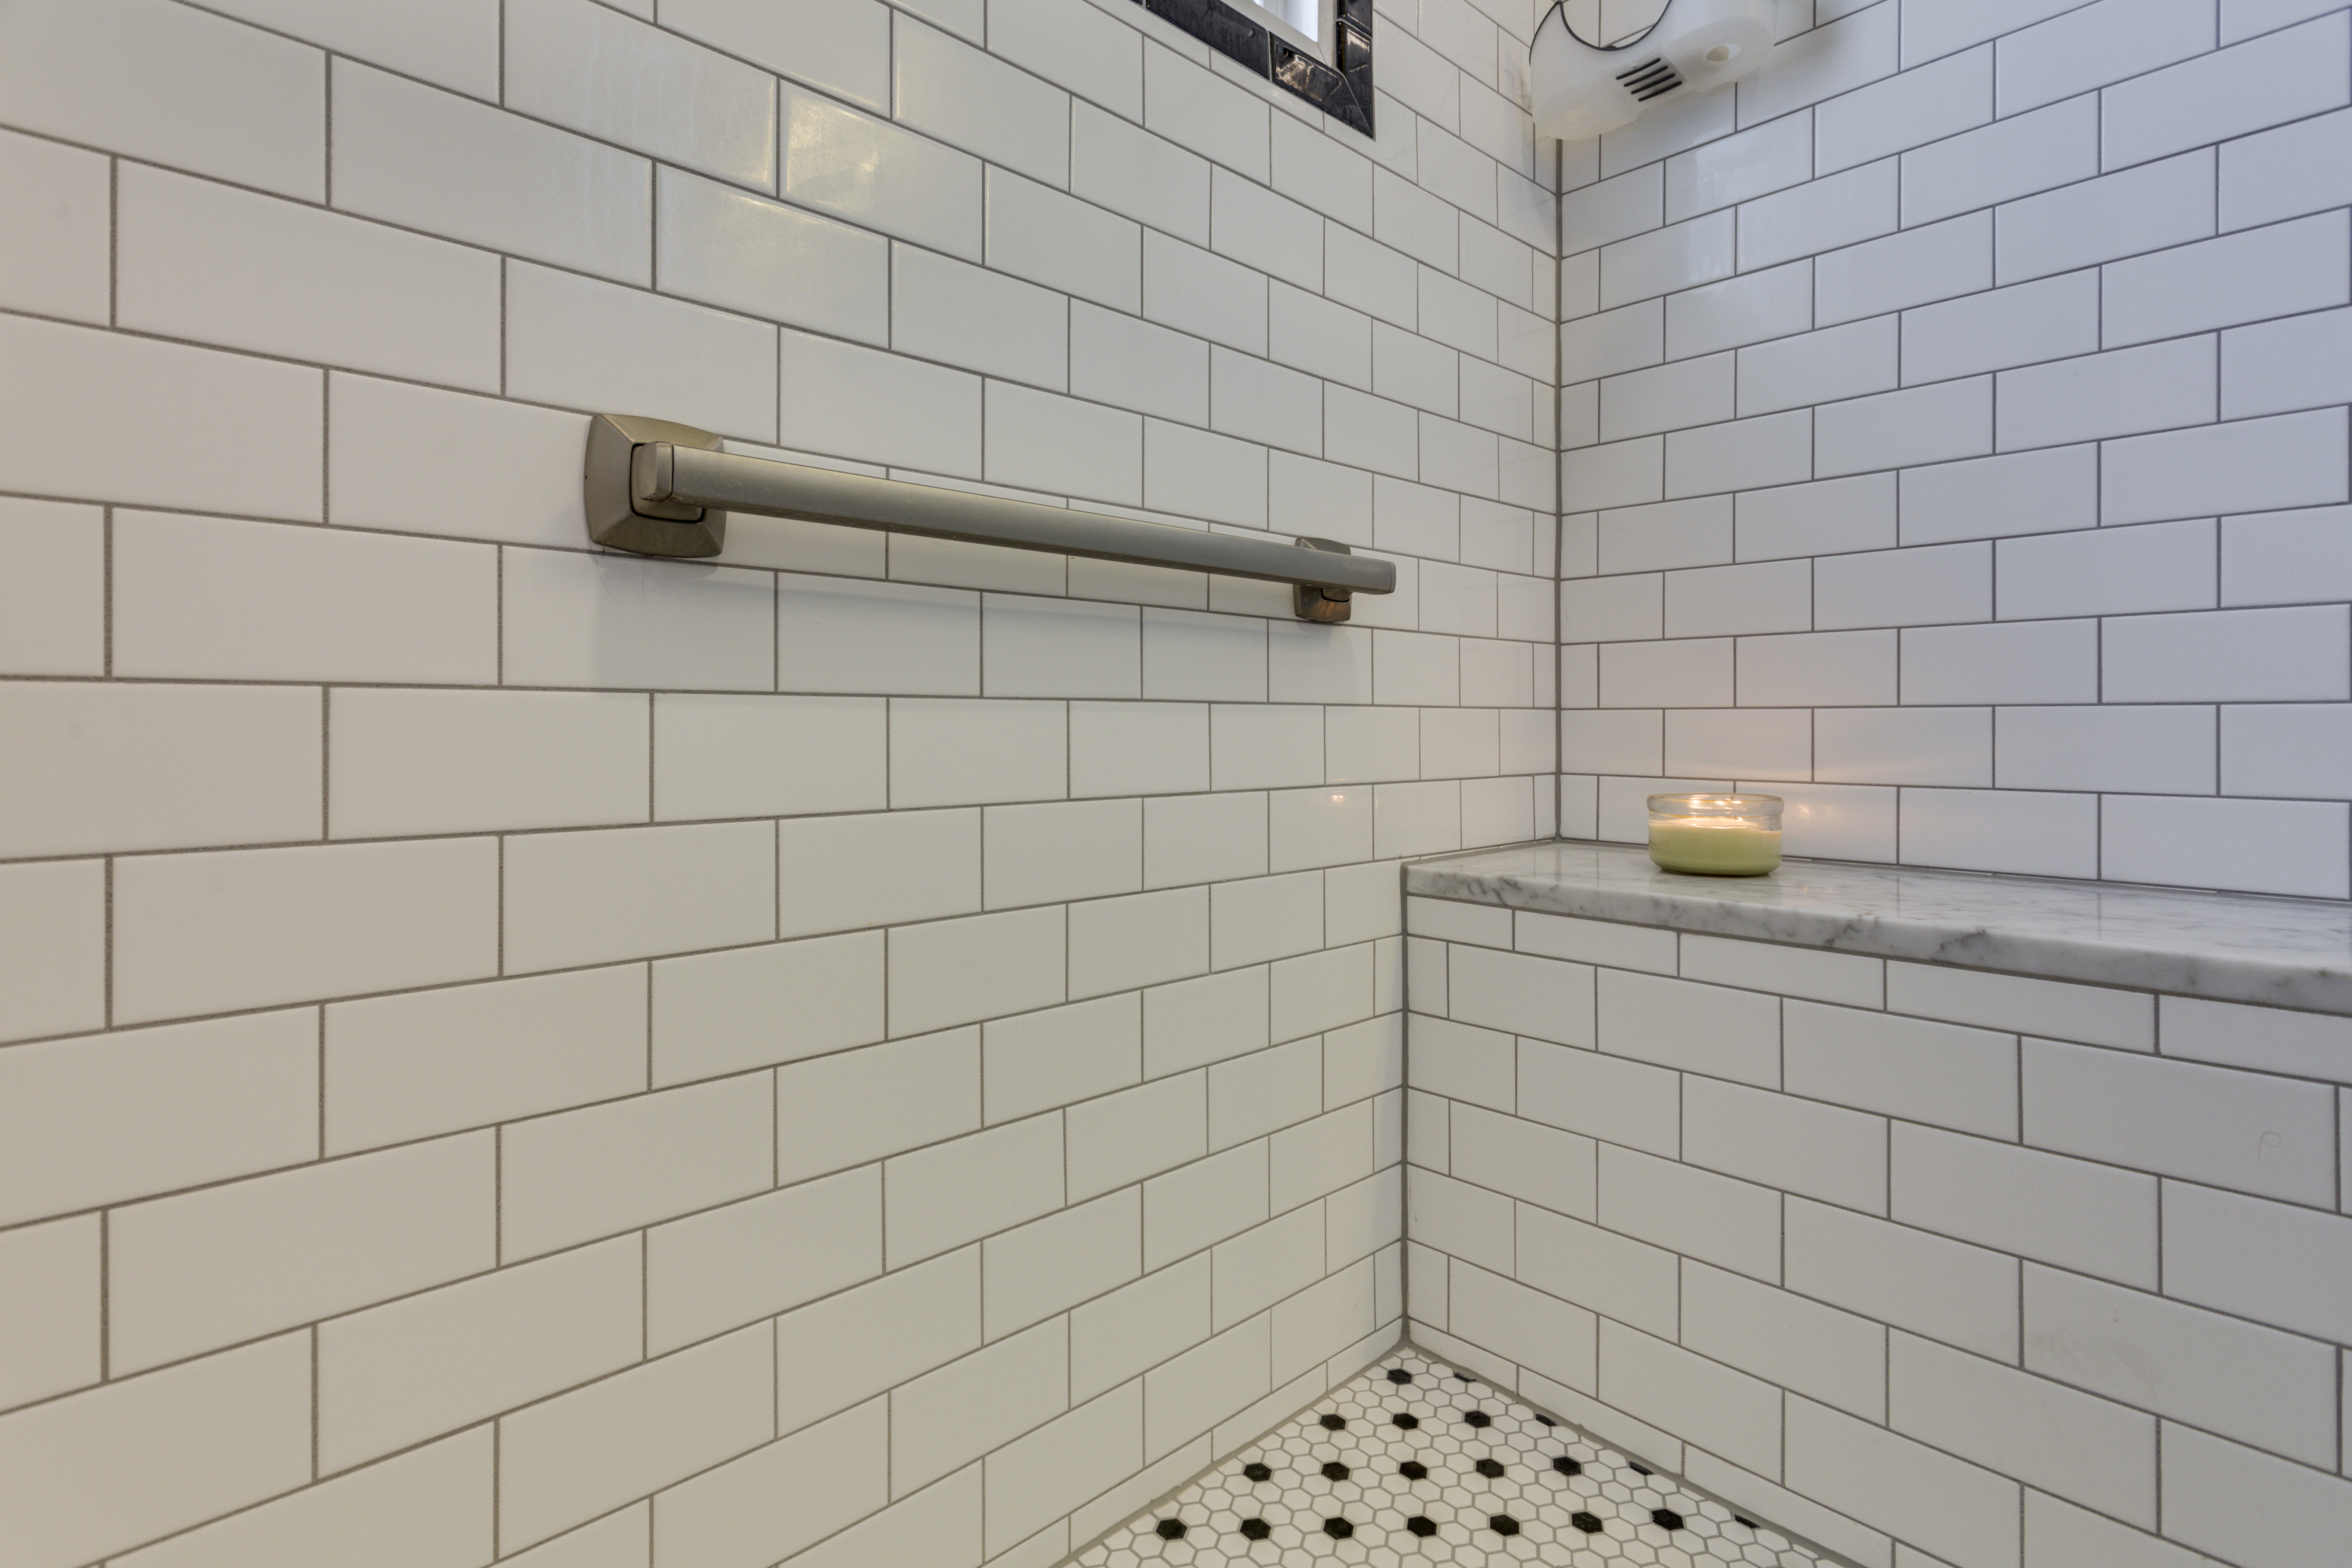
While the stacked layout gives you a flat finish, you may want to try something a bit edgier. The brick pattern (aka the running bond) is no different from what you see in masonry. It’s one tile fitted over the other with half a tile difference in the layout. So, for each successive line, you can see that the bricks are offset by half a tile's width, creating a brick-like effect.
Brick sets do not have to be exact. You can make them more interesting by using different colors of tiles for more contrast or using tiles with varying widths. Lately, rather than using half widths as offsets, more people are using the one-third rule. The goal? – To avoid lippage which can make the tiles a bit unsightly.
Keep in mind that offset tiles can often pave the way for lippage when not correctly installed. The non-uniformity can show even from a distance if the tiles are not flat on the surface. To minimize the effect of lippage (if evident), pay attention to your lighting- it either helps or hurts the situation. The closer the light is to the edges, the more the lippage will show. Or better yet, ignore the DIY and get a professional to lay the tiles. It may cost more, but the alternative is best termed a gamble.
The Pinwheel Pattern
Using similar tiles across the bathroom gives off a clean and minimalist vibe which can be too dull for some people. If you want to add some visual interest, you can always go for the pinwheel pattern. It incorporates different tile formats and often features squares of various sizes. A small square is fitted to the side for each large square, followed by another large square throughout the design. You can even try working with squares and rectangles or squares that are almost similar in size. That’s the beauty of the pinwheel design- versatility!
How about colors? Are you restricted on what can and cannot work for your bathroom tiling? Not even close! You can go with plain and solid colors, introducing some contrast to draw attention to the varying sizes. Or you could work with plain colors for the bigger tiles and bring in bolder shades for the smaller tiles for less effect. Some people even use decorative tiles for the smaller pieces to bring out the allure of the bigger tiles. Again, it’s really up to you to decide what makes the tiling work for your bathroom’s vision.
The Chevron Tile Pattern
Remember the herringbone pattern? If that did not cut it for you, how about going for the chevron tile pattern instead? It boasts more spontaneity and is the more modern version of the herringbone layout. Rather than use standard rectangles like in the herringbone layout, it features rows of interlocking parallelograms joined to create a zigzag pattern. You can run it either horizontally or vertically on the walls or floors.
The chevron pattern works as a focal point or as a complement. To bring out its beauty and tie to other aspects in the room, emphasize the V in the pattern. Work with muted colors and avoid too much contrast. But if you want to make the pattern the primary focus, don’t hold back on the contrasting colors. Better yet, use contrasting grout!
![]()
Of course, choosing a tile layout is not as simple as pointing to a design and going ‘that should do it!’. Our bathroom designers know that you are likely to have many considerations before taking this step and would like to hear more about your ideas. Our experts can review your bathroom space and décor and recommend some of the best tiling layouts for your bathroom. Feel free to reach out to us!